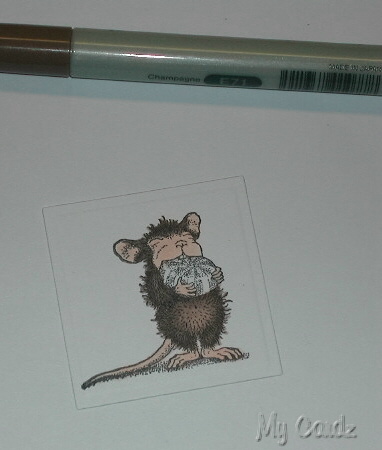
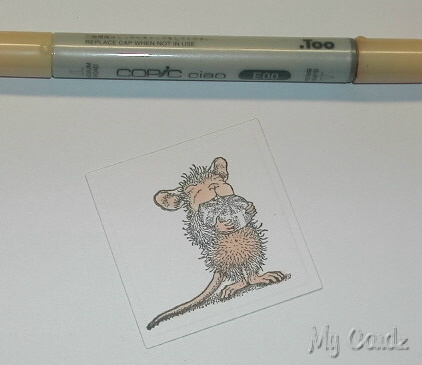
A very nice lady who visits my blog asked if I would share how I color the House Mouse mice on my cardz, and which Copic colors I use. Thought I would take this opportunity to show you a step-by-step on the colors. I’ll show you pictures of a little 3×3 card used in this week’s HM Challenge. (only had to color 15 images!! eeeeek)
Step 1 – Stamp image with Momento tuxedo black ink; I feel this is the best ink for Copics: (This shot shows some mice that have already been colored)
Step 2 – Color the face, ears, hands, feet, tail & belly with E00 Skin White:
Step 3 – Color the fuzzy hair 🙂 with E71 Champagne:
Step 4 – Using a darker shade color the edges of the hair, E77 Maroon:

Step 5


Thanks so much for the tutorial with the Copics. I need to come back and study it, because my Copic inventory is growing – a little, and I want to be brave and start using them. Your coloring is great!
Great tutorial, Mary! I have trouble using Copics on images that are already shaded, so I appreciate seeing how you do it!
I love HM stamps! I love what you did with them…Thanks for the opportunity to win one of the sets!
Great tutorial Mary. I will be taking your advice on board. xxx
Wow what a wonderful illustration! Thank you so much for taking the time to share that! I was having issues deciding what colors to color my little hoppers and house mouse friends!
I love your work, your the best I hope with your help I can get as good as you.
Thanks again keep up the good work
Thanks for sharing this amazing little mouse with us. I loved the way you coloured him. I took down a few numbers of copics that will enhance my work. I love these little folks and the new hedgehogs that are out. Have a great day.
Thank you for the tutorial on how to color these little mice, and especially what colors to use. I just love House Mouse and now I’m ready to make my move to start using Copics for color, I will definitely be checking back here to read your suggestions again and again.
You make it look so easy following your directions. Where can I find a set of the colors you used and buy more mice stamps?